DIY Wardrobe How to Sew a Beginner Boho Blouse

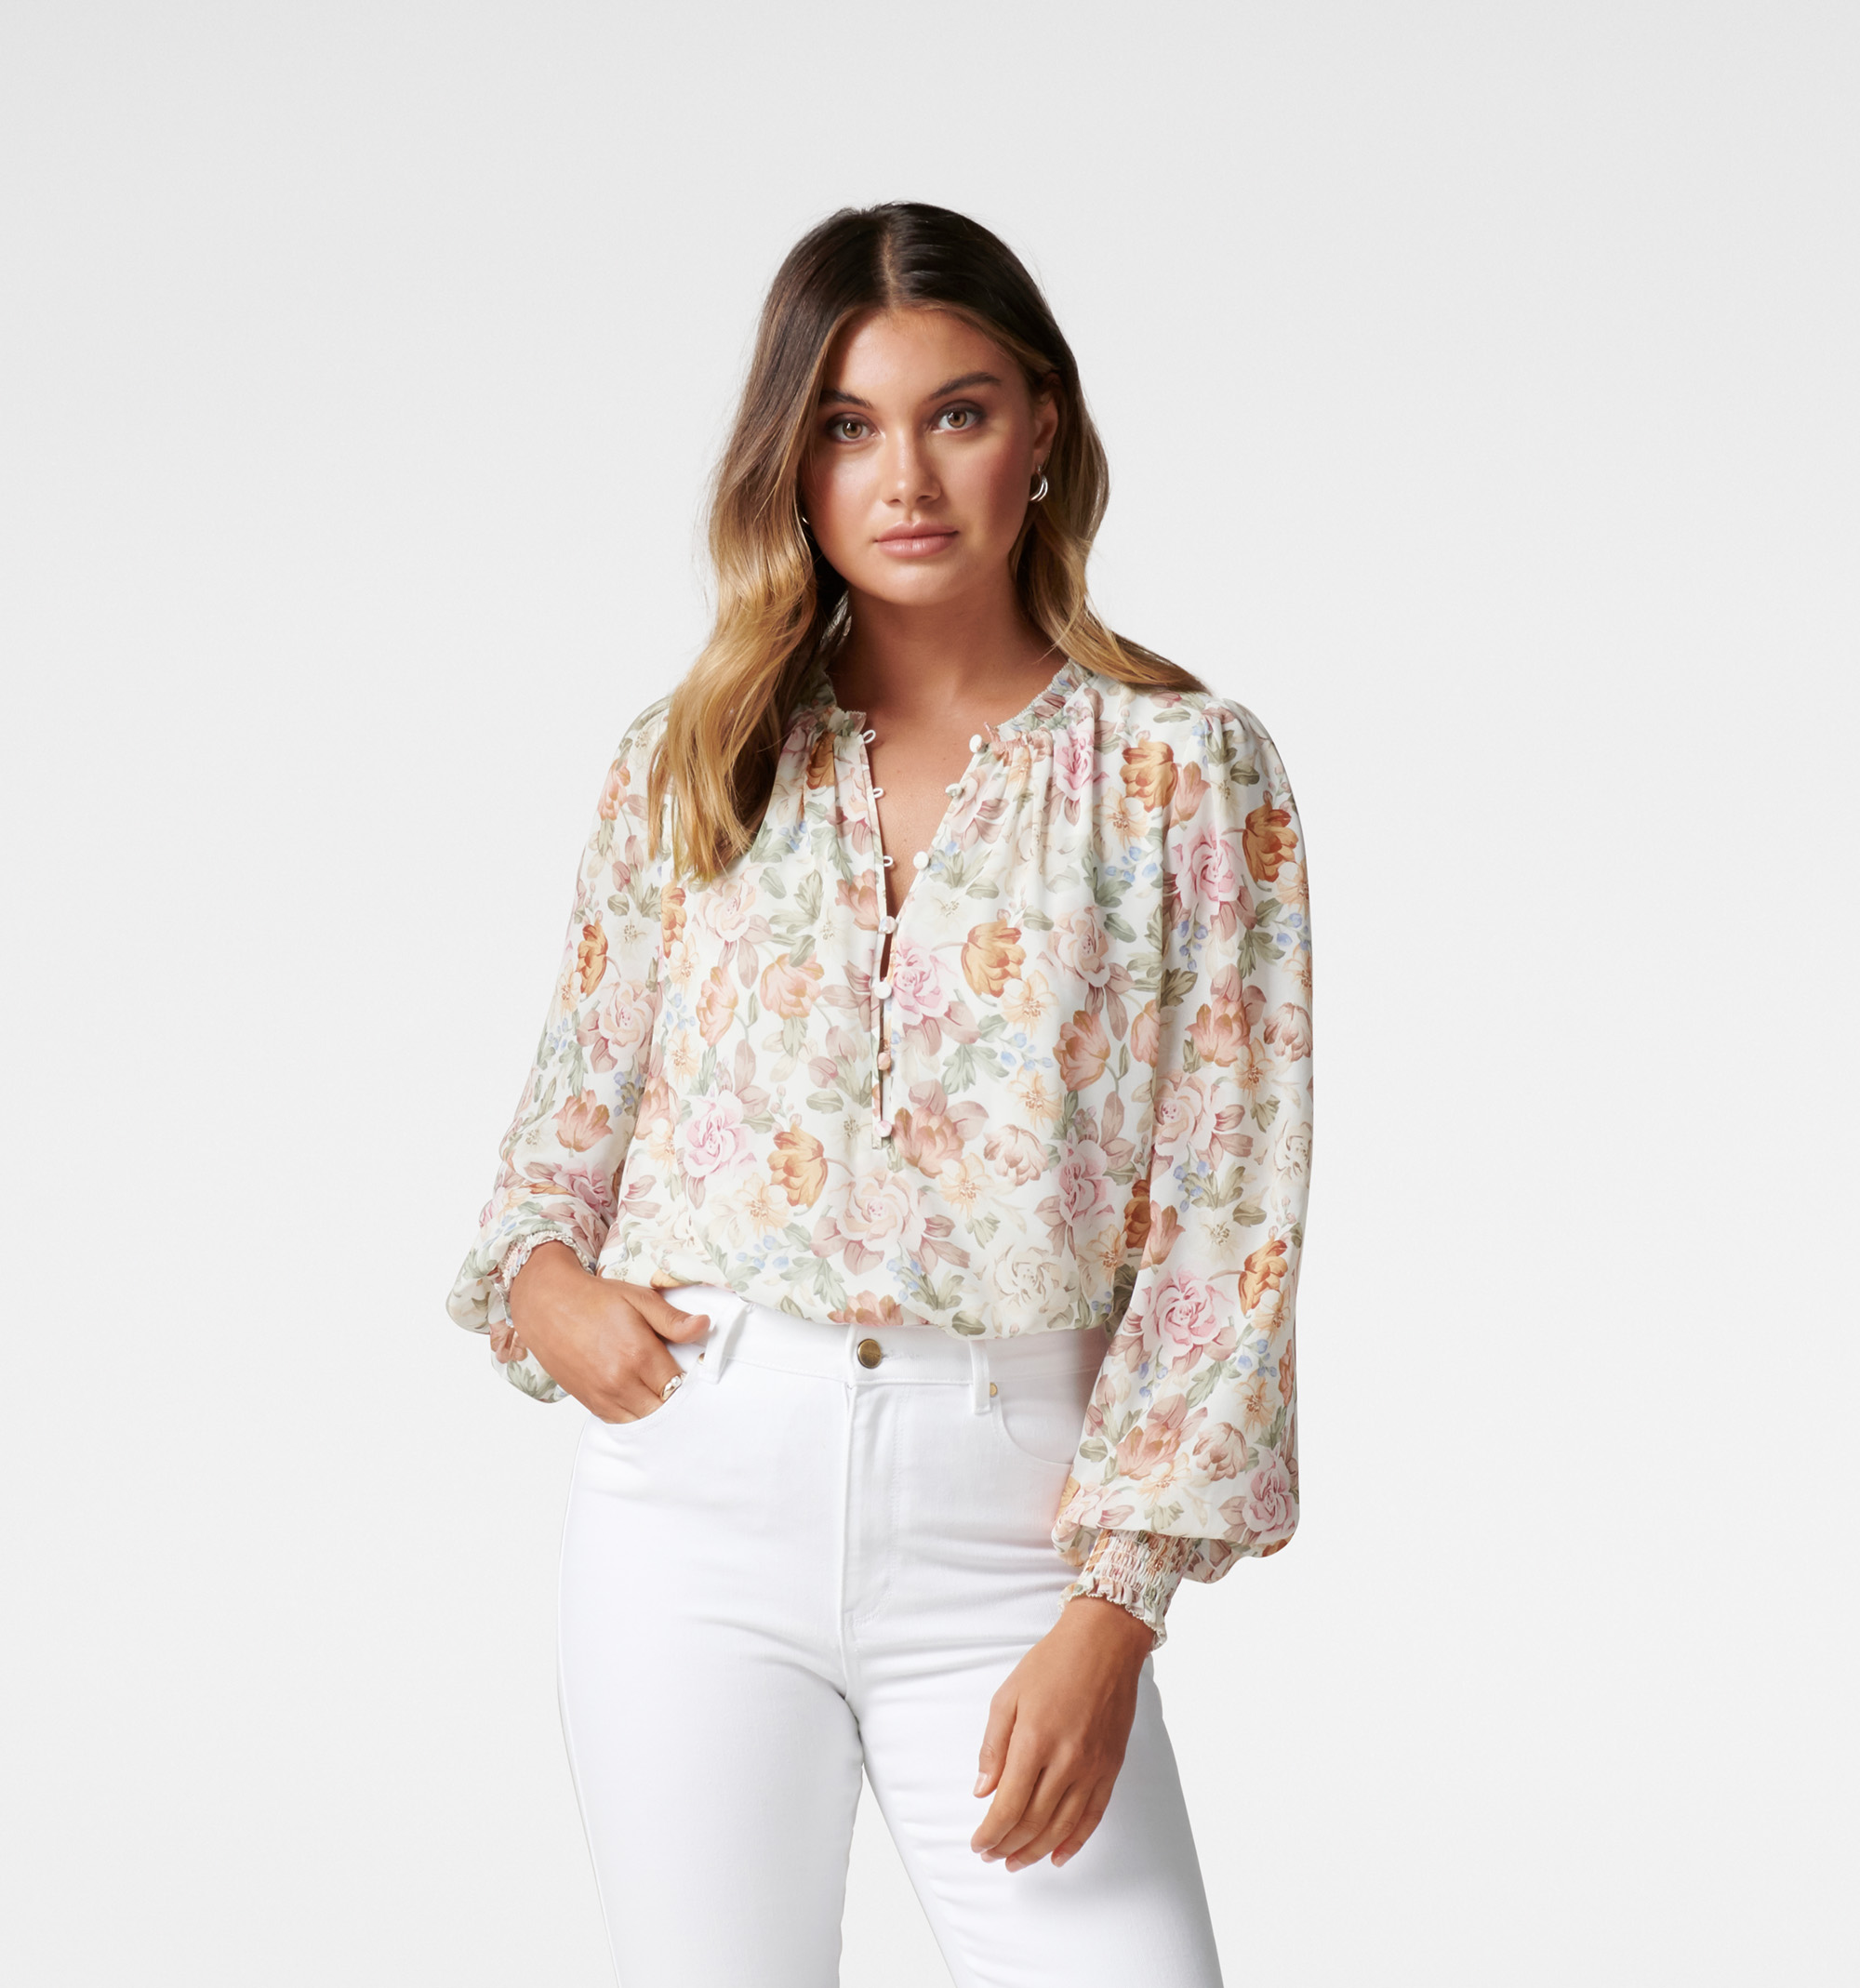
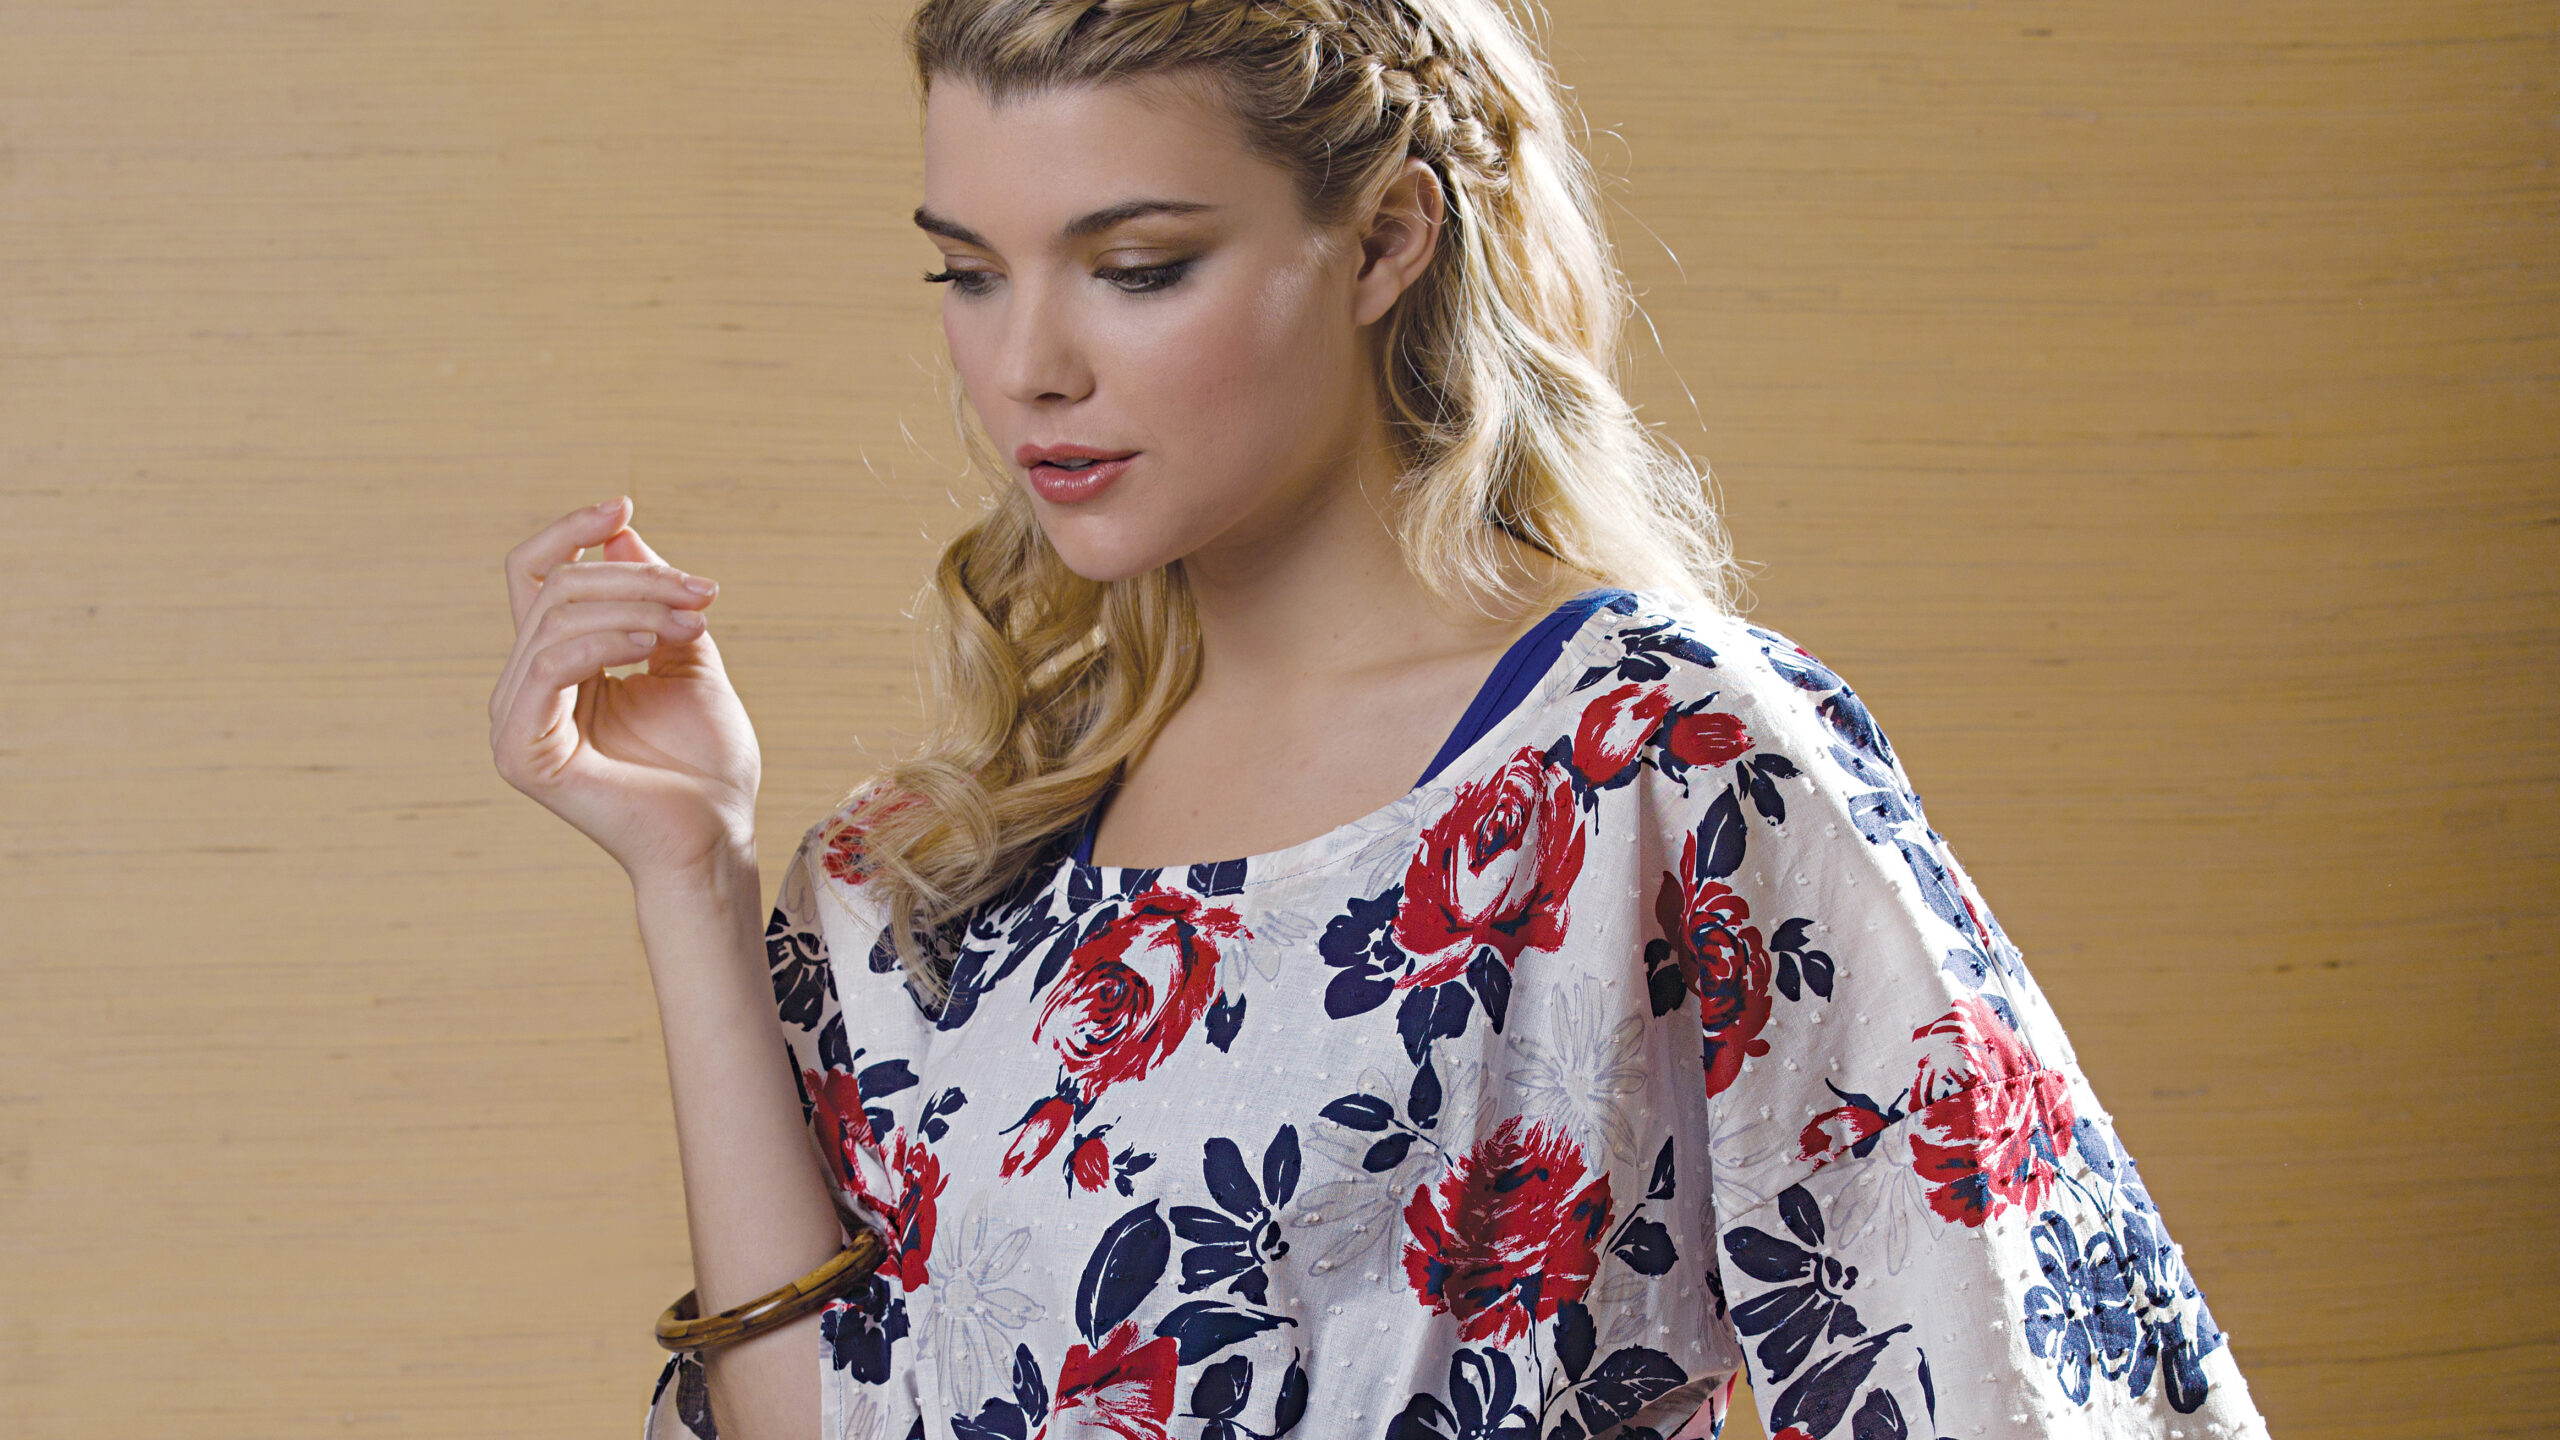
Have you been dreaming of one day having a wardrobe that's 100% handmade? For today's guest blogger, Sara Johansen from The Sara Project, she's one more blouse closer to achieving her me-made goal with today's tutorial! Join us as Sara shares her take on a boho blouse featuring our Organic Sweet Pea Gauze™.
Have you been dreaming of one day having a wardrobe that's 100% handmade? For today's guest blogger, Sara Johansen from The Sara Project, she's one blouse closer to achieving her me-made goal with today's tutorial! Sara is joining us to share her take on a boho blouse featuring our Organic Sweet Pea Gauze™. If you're looking for a light and airy top to add to your wardrobe, this is the pattern for you! Add a gorgeous print from holli_zollinger and you've got the perfect day-to-night blouse.
French_Linen_Sedona by holli_zollinger
Hey everyone! Sara from The Sara Project here with a fun sew-along planned for you! My tutorial today shares some tips for working with gauze as well as walking you through how to sew a really cute boho-style top. Let’s begin!
Materials
McCall’s Pattern M7544 (I'm using version C)
Organic Sweet Pea Gauze fabric (refer to your pattern to see how much yardage your size will require) I'm using French_Linen_Sedona by Holli_Zollinger
Matching Thread
Tracing paper
Clear Ruler
Pencil
Pins
Scissors
Hook and eye
Before we get started, I want to go over a few quick tips for working with gauze!
Gauze is a fine, open woven cotton and can easily fray when washing. Always serge or zigzag stitch the edges before throwing the fabric into the washing machine.
To finish seam allowances, I found serging to work great for more than one layer of fabric. For a single layer of fabric, I would suggest folding the seam allowance in half, and then sew along the edge to finish. If you serge a single layer, the stitches tend to slip right out.
You’ll want to make sure to set your iron on cotton or wool setting, and press/steam well to flatten your seams and hems as you go.
If you need to do any unpicking, be very careful to only unpick the sewing thread, and not the threads in your garment. It’s easy to make a hole in this loosely woven fabric.
See Spoonflower's helpful care video for a few more tips!
Before we begin sewing, we need to do a little pattern prep. I would recommend tracing the pattern pieces you need onto tracing paper to preserve the original pattern. For my top, I chose view C of M7544 and made a few adjustments to my pattern. I’ll walk you through how I made them below but if you prefer the style of the original pattern, jump ahead to step 6!
I wanted the front and back yoke to be a little longer on my shirt, so I extended both pieces by 2”. Here’s how I did it:
1. Fold the front bodice piece until the top of the bodice is the same size of the front yoke.
Pro tip! Trace your pattern with tracing paper to easily modify while still preserving the original pattern
2. Tape the front yoke along the top edge of the folded front bodice piece.
3. Draw a new line 2” below the top of the bodice front. This line will be the new bottom edge of your front yoke. I wanted my yoke to hit right above the bust so 2 did the trick. Make sure 2” is a good adjustment for your body or adjust as necessary.
4. Cut along the new line you just drew, and tape where needed. Unfold the front bodice piece. Repeat steps 1-4 for the back yoke and back bodice pieces.
Lengthened yoke
5. I also added a bell sleeve to my top. To create this look, remove ½” from the hem of your short sleeve pattern in addition to creating a rectangle pattern piece measuring 16” wide x 5” long. You will cut 2 of these pieces along the fold of your fabric.
6. Lay out your prewashed fabric and cut out all of your pattern pieces following the pattern instructions.
Cut out pattern pieces
Let's get sewing!
For this blouse, we'll be using a 5/8 seam allowance.
1. Sew two rows of basting/gathering stitches along the top of the front bodice at ½” and ⅝” away from the edge.
2. Pin one front yoke to the front section matching centers and both edges of both pieces. Pull threads to gather the bodice to fit the yoke. Evenly spread gathers. Sew. Press seam up.
Sew the front yoke to the front of the bodice.
3. On the back bodice piece, create pleats following the markings on the pattern piece.
4. Pin and sew the two back yoke pieces right sides together, making sure to stop at the large circle marked on the pattern piece. I moved my circle up closer to the edge to have a smaller back opening, I stopped at the pin in the image below.
5. Next, hem the opening we just created at the top of the back bodice. Along the edge, fold the seam allowance over twice, iron and pin on both sides.
6. Using an edgestitch foot, sew along the fold of the hem, making sure to keep your needle down and pivot to the top of the other side.
Sew along the hem
7. Pin the two back yokes along the top edge of the bodice back, right sides together. About ½” should hang off of the inside edge along the edge we just hemmed.
8. Sew along the two edges. Press seams up.
9. Pin and sew the front bodice to the back bodice at shoulders and sides, right sides together. I chose to do french seams for my side seams. You could also do a regular seam and zig zag or serge the edges to finish.
10. Now it's time to prep the yoke lining! Press the bottom edge of each yoke piece at ⅝”, and trim down to ⅜”.
11. Pin and sew the back yoke lining to the front yoke lining at the shoulder, right sides together.
12. With right sides together, pin lining to yoke. Stitch neck and back opening edges.
13. Understitch the lining as far as possible. Trim corners. Turn right sides out.
14. Press and pin the yoke lining down over the seam of the bodice and yoke.
15. The pattern instructs you to slip stitch the lining down to the bodice, but I chose to stitch in the ditch instead. This means to sew in between the yoke and bodice right in the seam along the front side, pulling out the pins from the backside as you go. The stitches will be hidden in the seam, but secure the yoke lining on the back side. It's a win, win!
16. Baste the armholes together.
17. Time to prep the sleeves! First, sew two rows of basting stitches along the top of both sleeves in between the large circles indicated on the pattern piece.
18. If you choose to add the bell sleeve like I did, sew two rows of basting stitches along the 2 rectangle pieces we made at ½” and ⅝”. Line up the sides and middle of this rectangle to the bottom of the sleeve, and gather to fit. Sew. Finish seam as desired.
19. Pin and sew both sleeve edges right sides together.
20. Insert the sleeve into the armhole of the bodice right sides together (your bodice should be inside out), aligning the underarm seams and centers. Pull gathering stitched to adjust ease and sew. Finish as desired.
21. Hem sleeves by pressing the edge in ¼” two times.
22. Hem the bottom edge of your shirt. I ended up cutting off 1” of length before hemming. I pressed the edge in ½” twice. Sew.
23. To finish off the back edge of the shirt, sew in a hook and eye using a needle and thread.
Congrats! Your shirt is finished! Inspired to make your own version? Show us your makes with #spoonflower and #thesaraproject! We want to see what you come up with!
Sara Johansen is a sewing blogger over at The Sara Project. She's a wife and stay at home mother of two. While she's kept busy by her kids busy during the day, her sewing machine does the entertaining during naps and bedtime. She loves to sew fashion forward women’s garment and is currently working towards a handmade wardrobe, one garment at a time. You can catch lots of sneak peeks of Sara's current projects over on instagram.

DIY This Easy Boho Off Shoulder Top - Creative Fashion Blog

Build the Perfect Capsule Wardrobe in 2024 - Cienna Designs

15 Easy No Sew Ways To Update Your Closet & Make Your Own DIY Clothes - Creative Fashion Blog
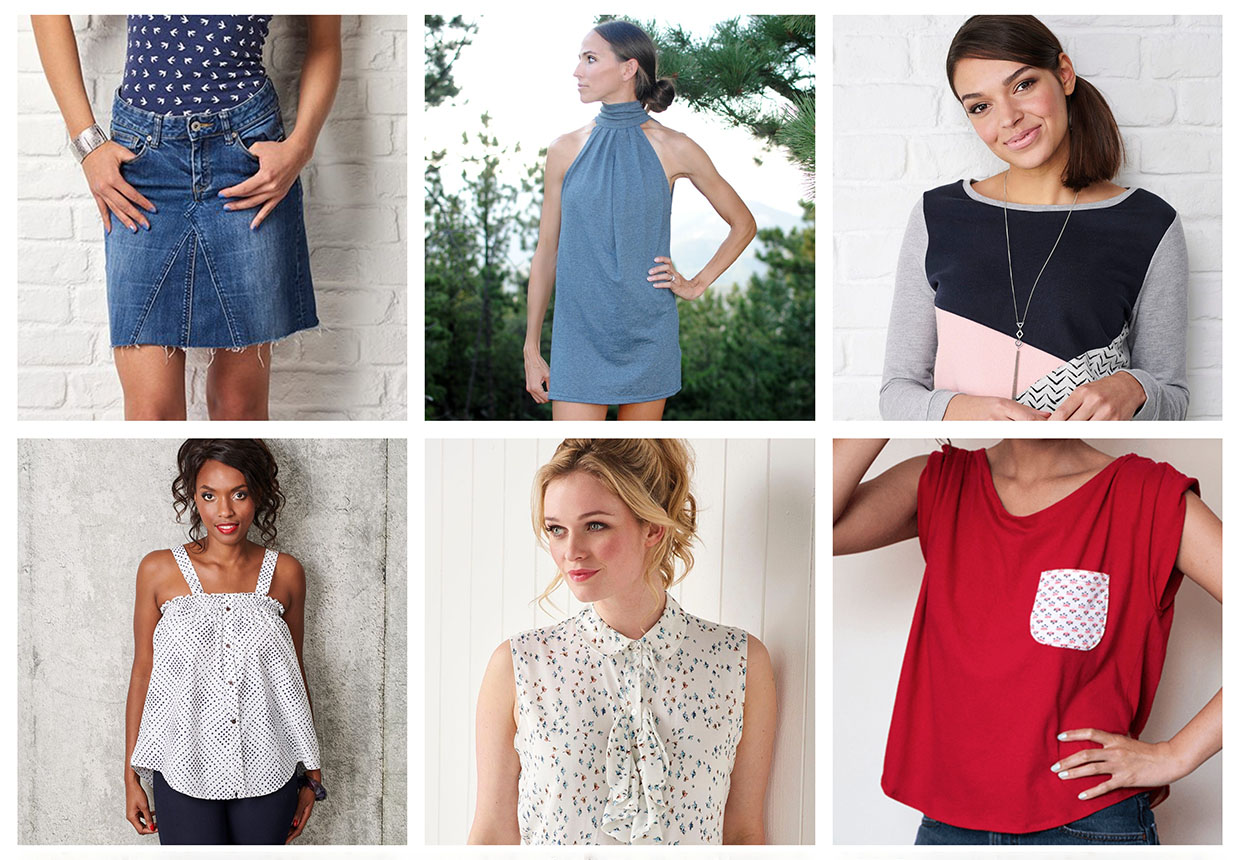
34 upcycling clothes ideas - Gathered
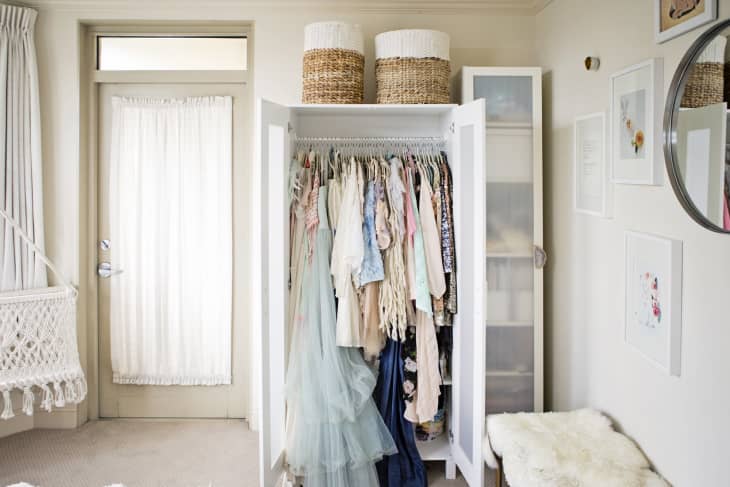
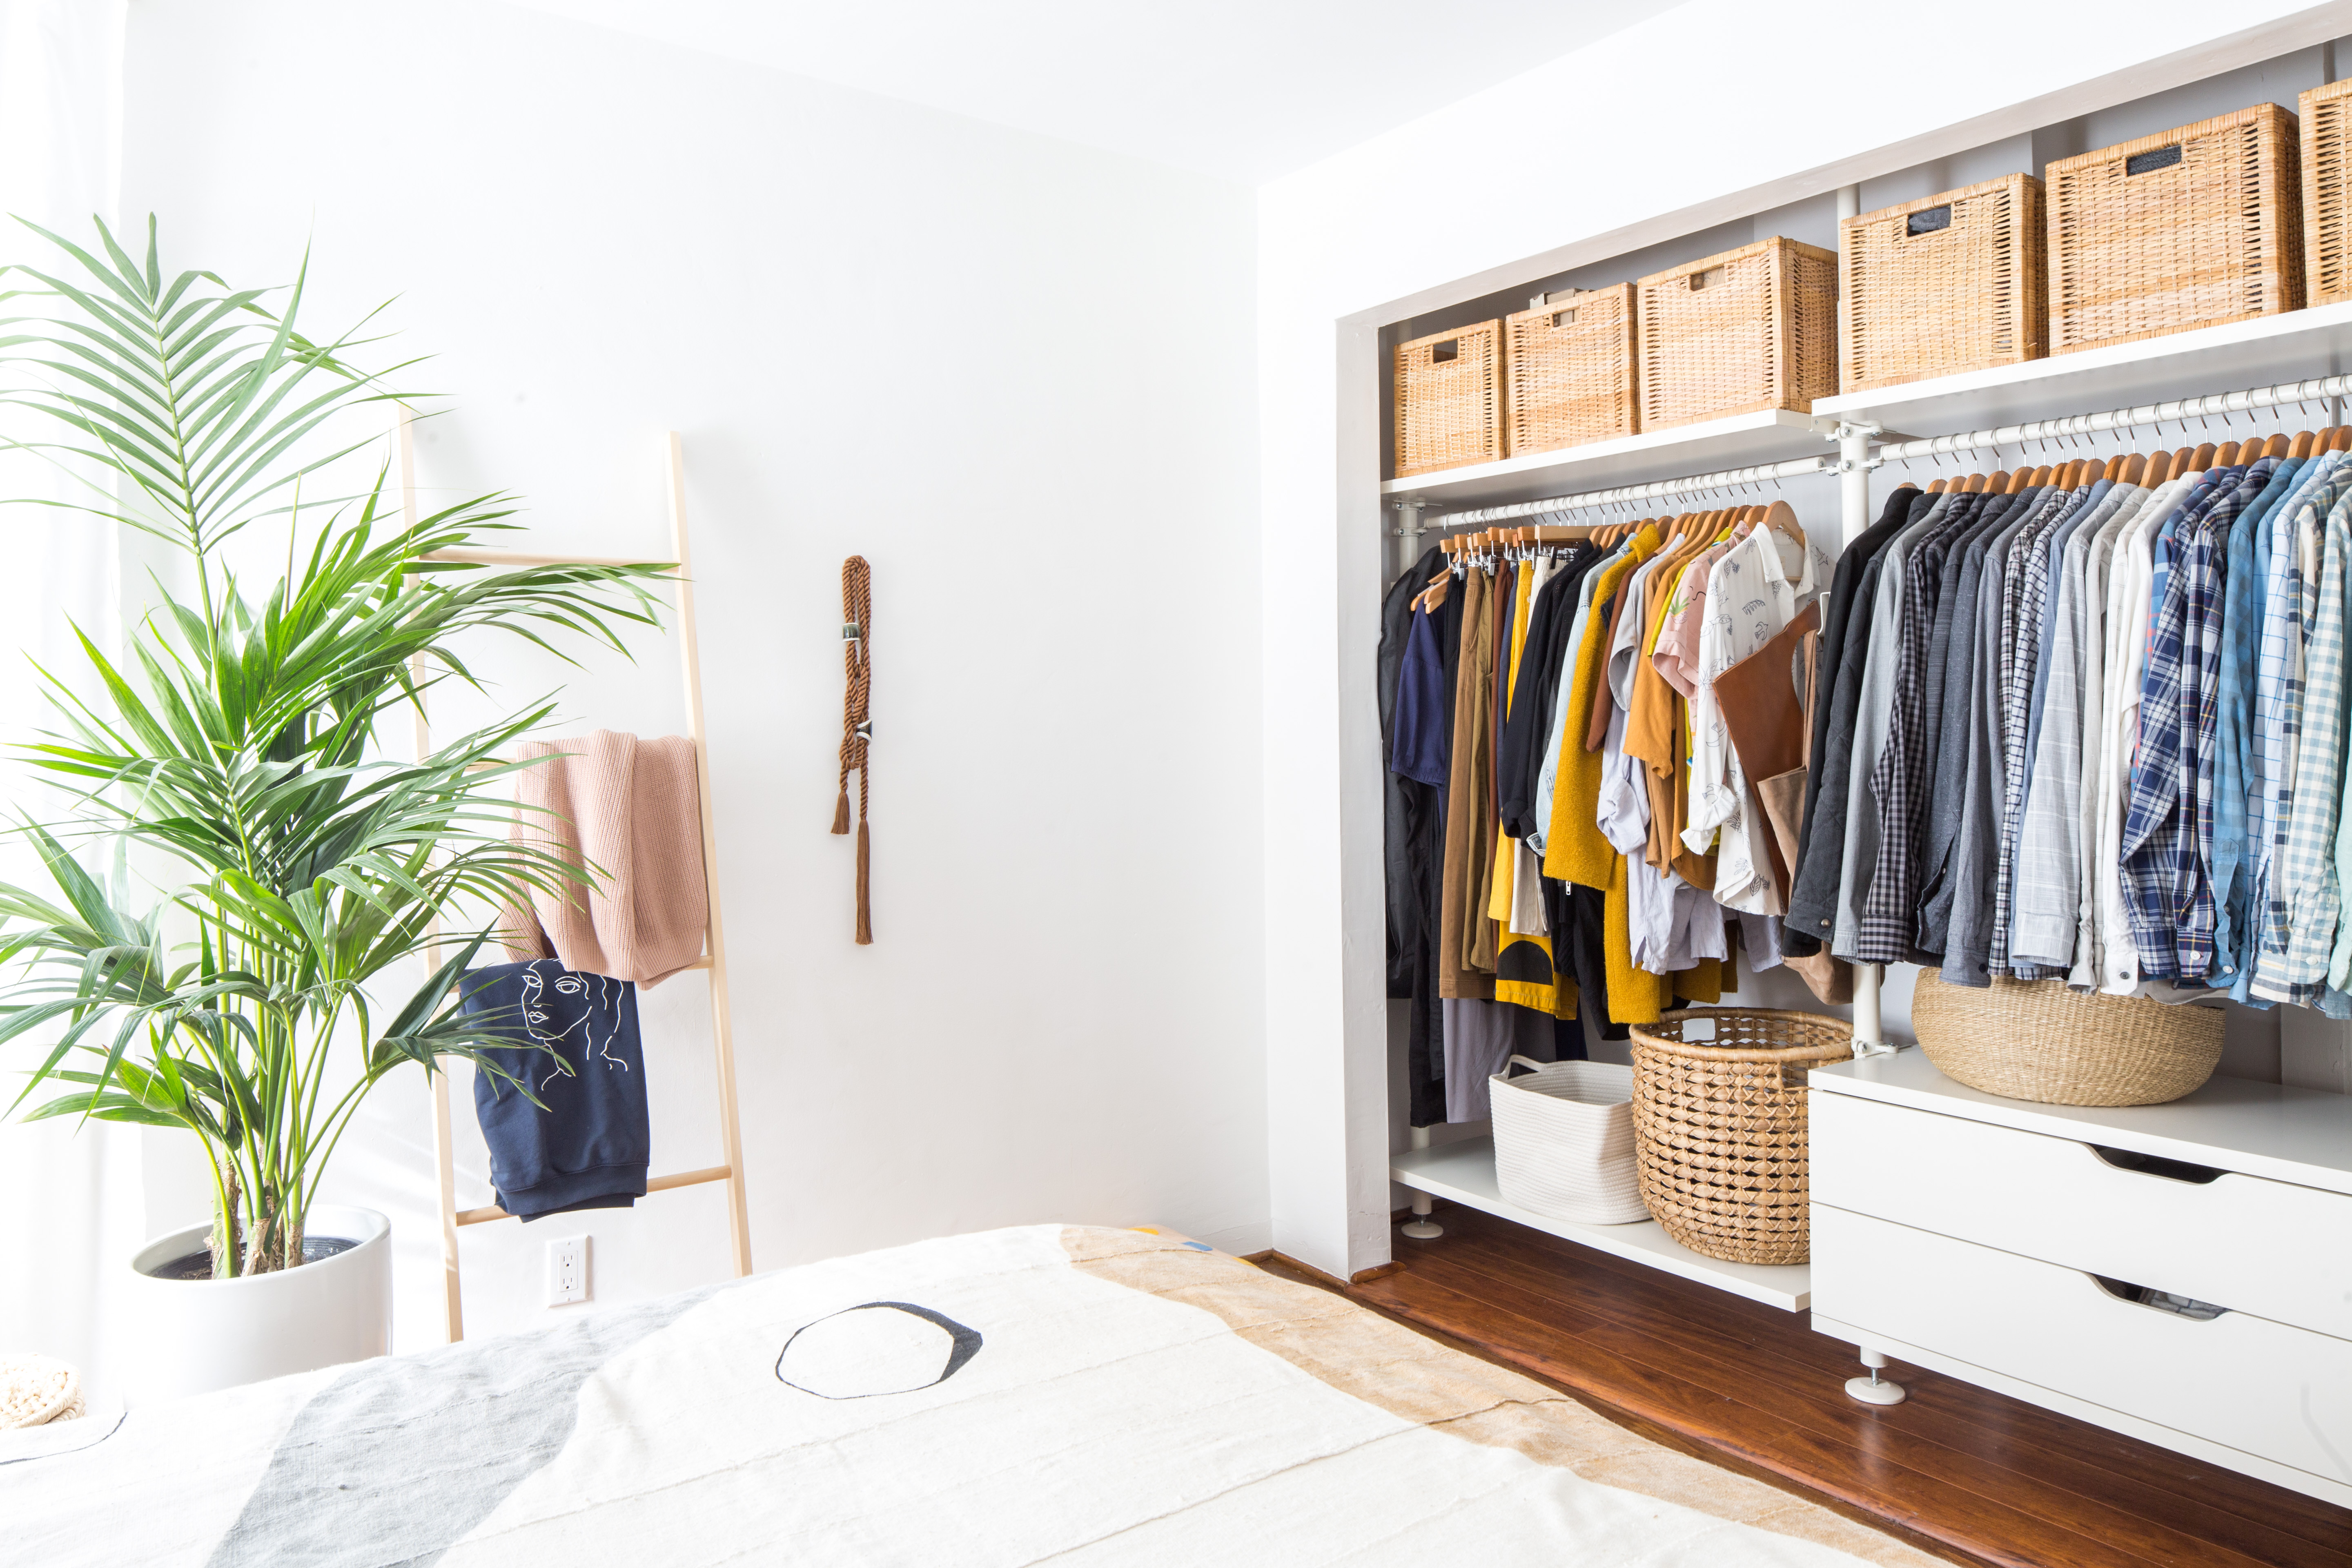
How to Create a Closet in a Small Space

Sewing a Boho Style top: Boho Babydoll Pattern
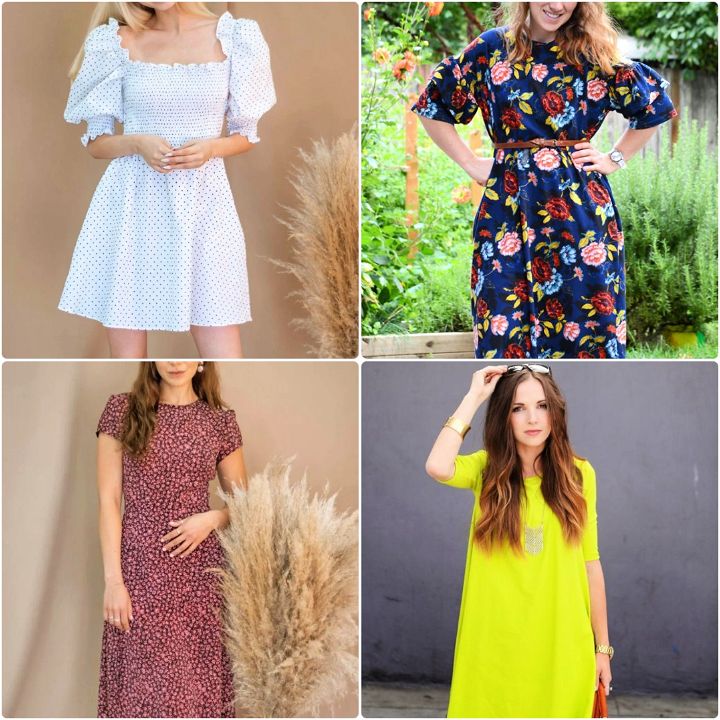
30 Free Dress Patterns For Women - Dress Sewing Patterns
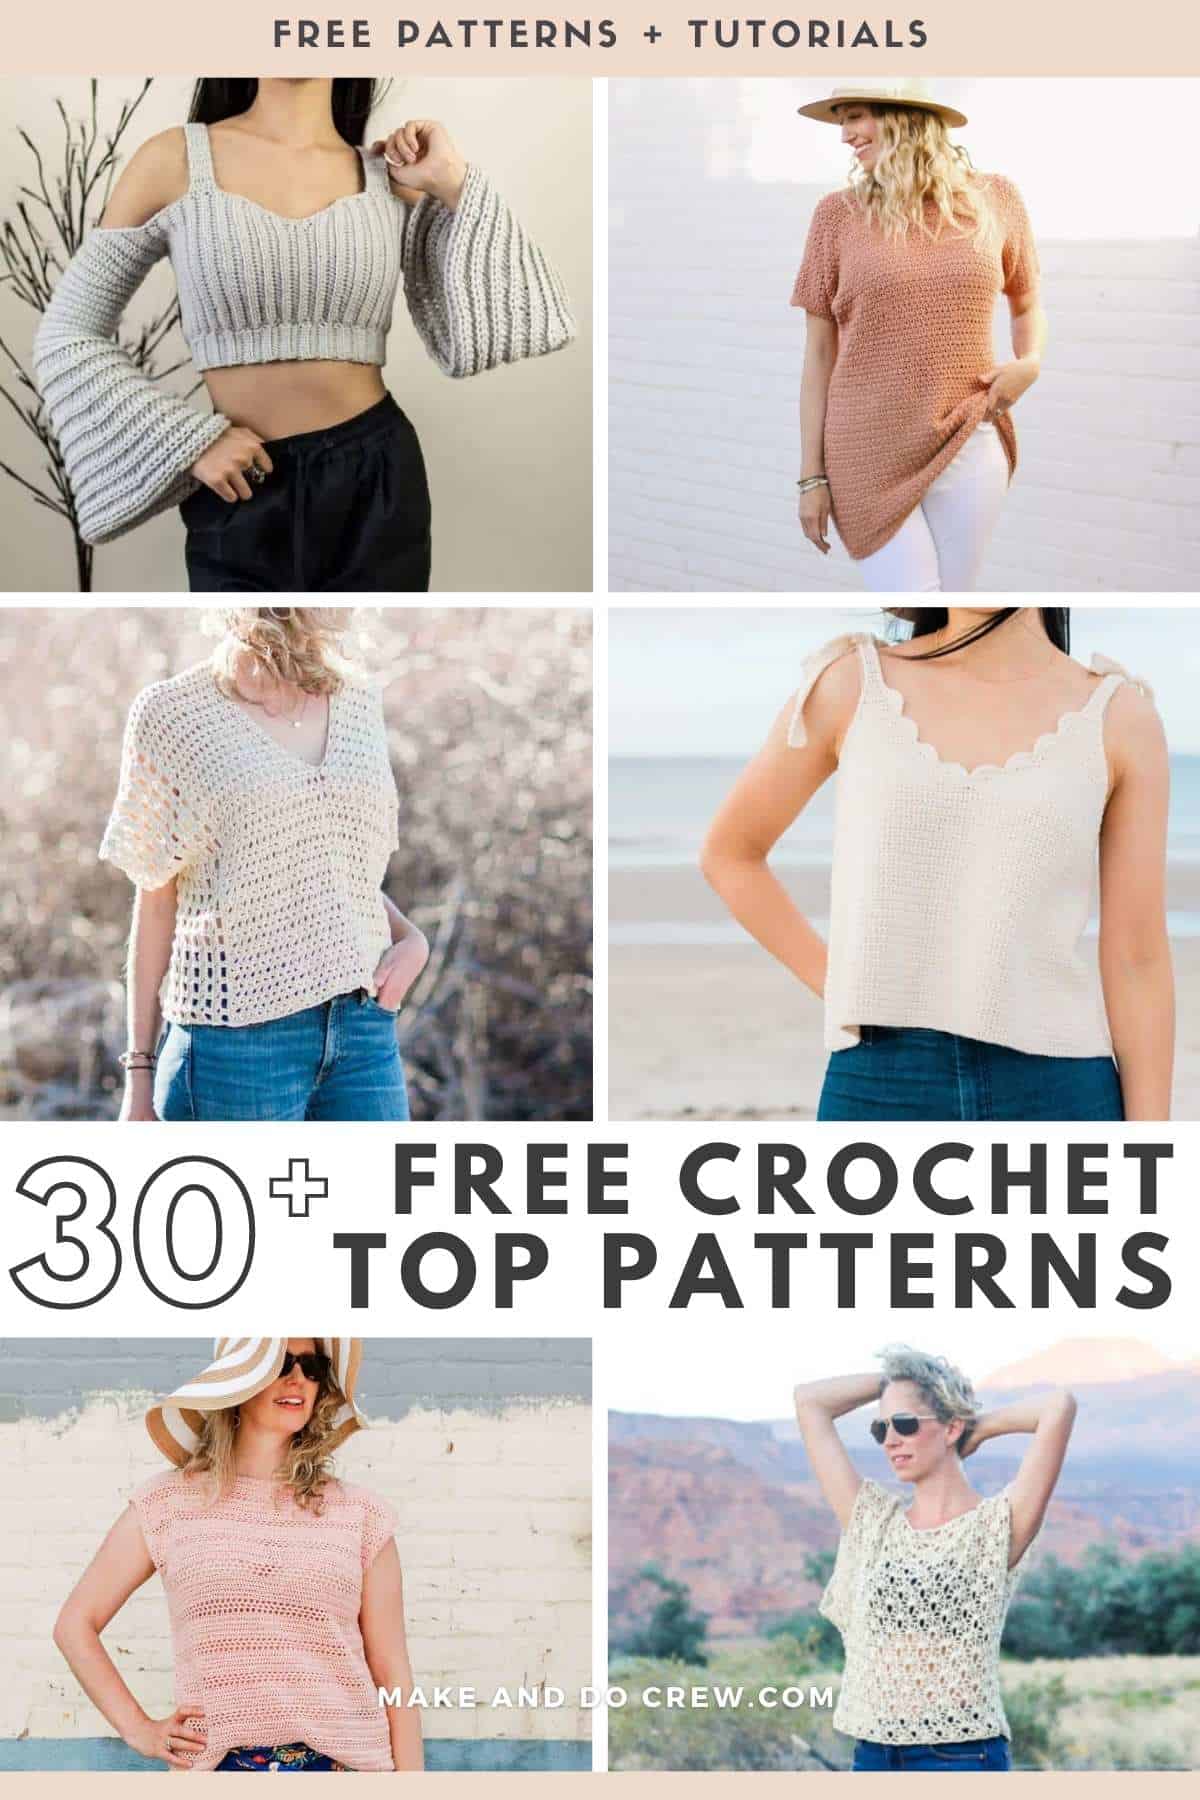
30 Best Crochet Top Patterns - Tanks, Tunics + Cropped Shirts

DIY Wardrobe How to Sew a Beginner Boho Blouse
Make a Simple Boho Blouse - Threads
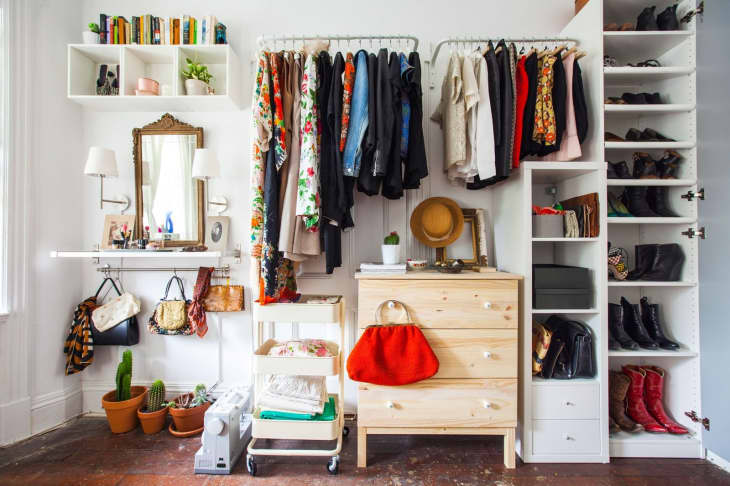
How to Make Room for Clothes Without Closet

DIY Wardrobe How to Sew a Beginner Boho Blouse
9 Best DIY Closet Systems 2024: The Best Build Your Own Closet Systems